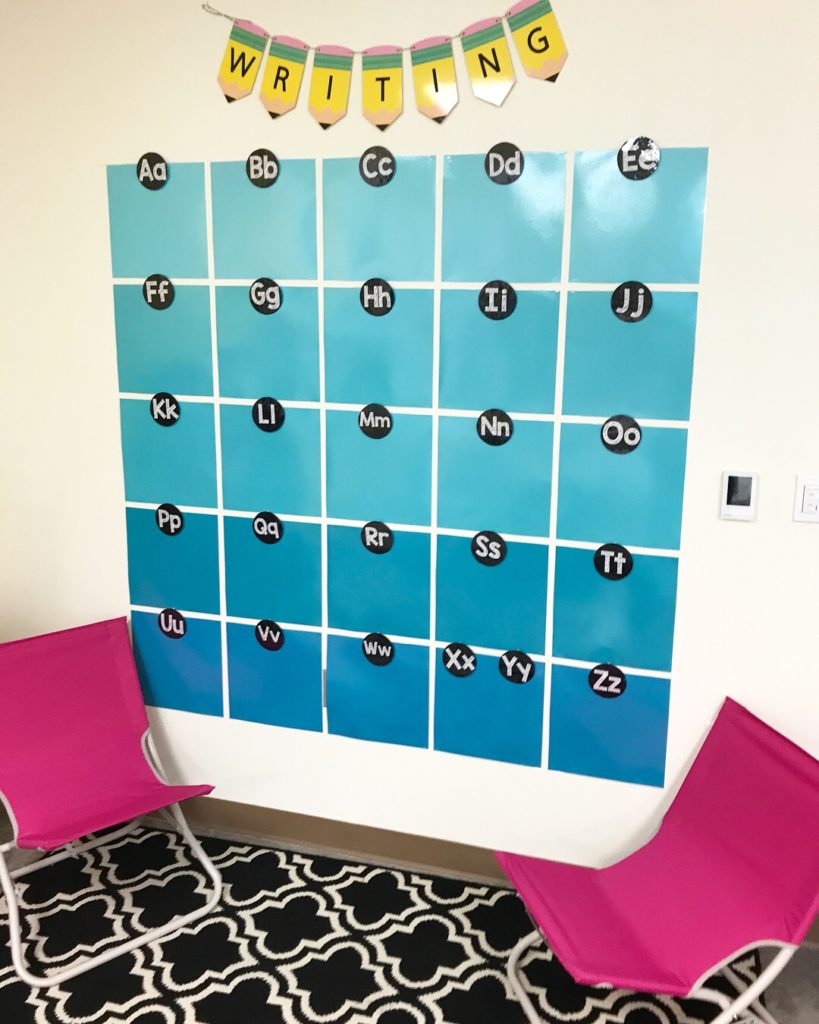
Are you wanting to revamp your word wall? I have used this word wall for two years in a row and I LOVE IT!
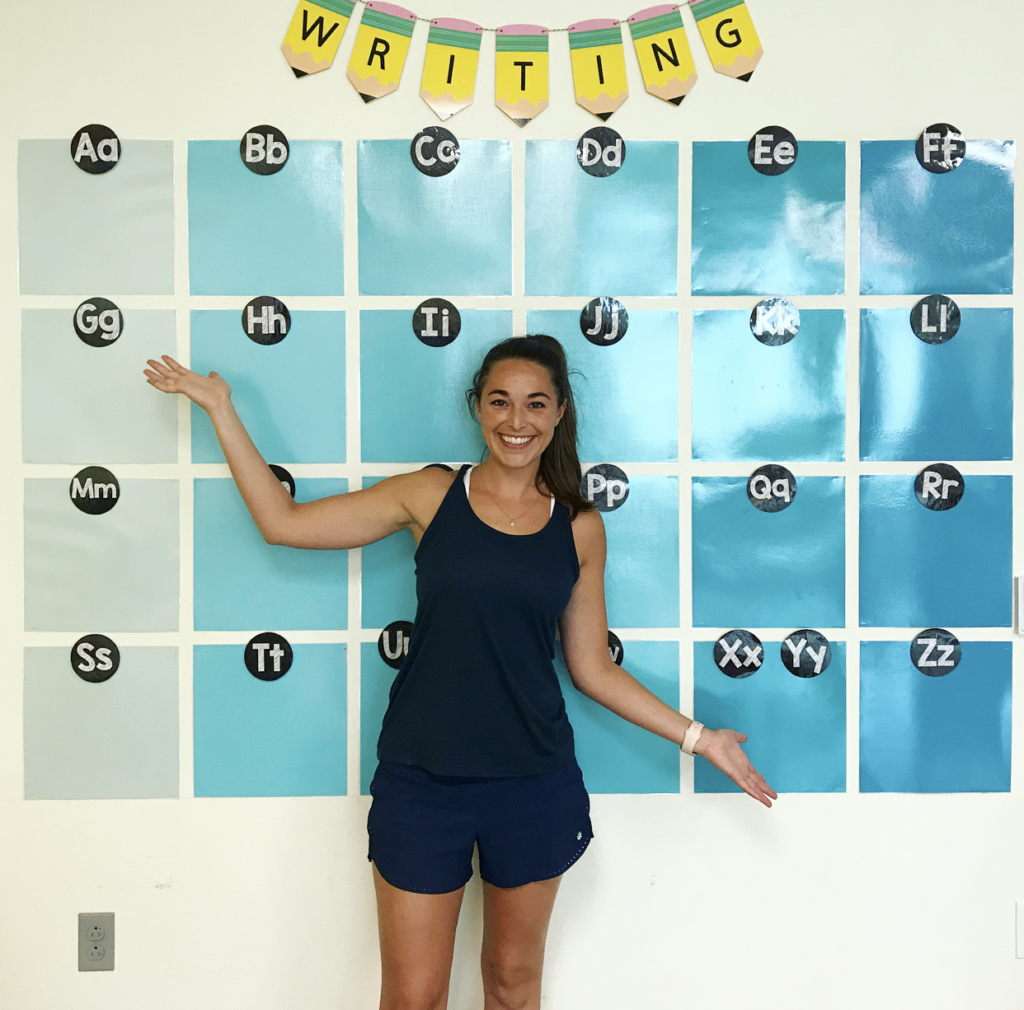
If you are interested in a word wall like this one on the left, follow these simple steps below:
- You are going to need scrapbook size paper (12inx12in). I found mine at Hobby Lobby but you can find this paper at most craft stores. I liked the ombre effect so I chose different shades of blue but you could do anything your heart desires. 🙂 For the one above I chose 25 pieces of paper (5 of each color) and combined the letters ‘x’ and ‘y’ together. For the one below I decided to make my word wall wider so I used 24 pieces of paper (4 of each color) and combined ‘u’ & ‘v’ and ‘x’ & ‘y’.

2. Now that you have your beautiful paper, you will need to laminate it. I chose to laminate my word wall so that I could write sight words in expo marker.
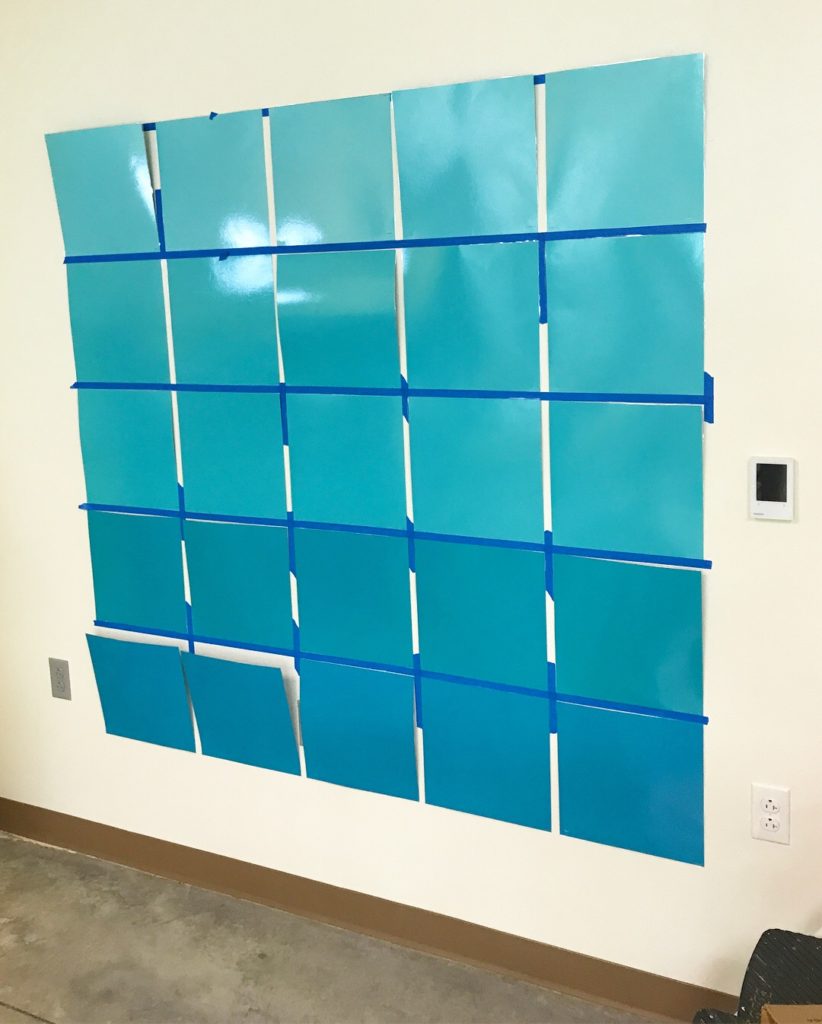
3. After laminating and cutting out your paper, you are ready to hang it on your wall. There are 2 ways to do this. You could use one inch painters tape to help layout your design or you could use a pencil, ruler, and an extra long balance.
Starting Off
To start off measure the wall and calculate how many inches the paper would take up. For an example, if you are doing A-F, that is 6 pieces of paper with an inch in between, so the total amount would be 77 inches across the wall. After finding out how wide the word wall would be, I then calculated how many inches would be on each side in order to center it. If the wall is 150 inches, first subtract 150-77 to get 73. Divide 73 in half to get 36.5 and that is how many inches you have from the edge of the word wall to the side of the room.

Helpful Hints
If this is your first time to hang paper up for your word wall, I would suggest using painters tape (1 inch) to help lay it out. It helped tremendously to keep everything aligned and straight. After everything is hung you are ready to staple it in.
Final Step
4. Alphabet labels- I made black labels to help contrast the blue. If you are interested in these labels click here.
I hope this tutorial has been helpful. Please comment below with any question you may have. If you are interested in some of my freebies, enter your email address at the top of this page. Have a great year!


![Our FUN and FUNctional personalized stationery is the perfect go-to for expressing your gratitude, staying in touch and easy gifting for any occasion. Joy Creative Shop stationery features unique colors and clean, modern typography on lightly textured white cardstock. Product Highlights: -4.25 x 5.5 inches [A2] flat ca](https://i.pinimg.com/236x/27/4f/49/274f49c3872bd27b381c9b104bca6c0c.jpg)